Installing WAPT Server on Windows
Attention
The WAPT Server can not be installed on a computer with services already listening on ports 80 and 443 (example WSUS with IIS).
ports 80, 443 and 8080 are used by the WAPT Server and must be available;
If ports 80 and 443 are already occupied by another web service, you should take a look at the documentation for changing the default ports on Windows.
port 8088 is used on client machines by the WAPT agent and must be available;
The WAPT server will not run on a x86 version of Windows;
The installation of the WAPT server must be done using a Local Administrator account on the host;
Attention
From WAPT Server 1.5 onward, Nginx is the ONLY supported web server. Apache or IIS (with or without WSUS) are no longer supported in WAPT.
In case of problems when installing WAPT, visit the Frequently Asked Questions.
Note
installing WAPT on a Linux server is the recommended method;
the WAPT Server may be installed on 64bit only Windows 7, 8.1, 10 and Windows Server 2008/R2, 2012/R2, 2016 and 2019;
Community: download and execute waptserversetup.exe;
Enterprise: download and execute waptserversetup.exe;
choose the installation language;
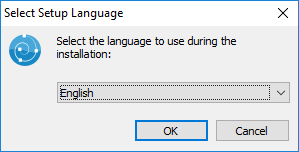
Choose the language for WAPT
accept the GNU Public License and click on Next to go on to the next step;
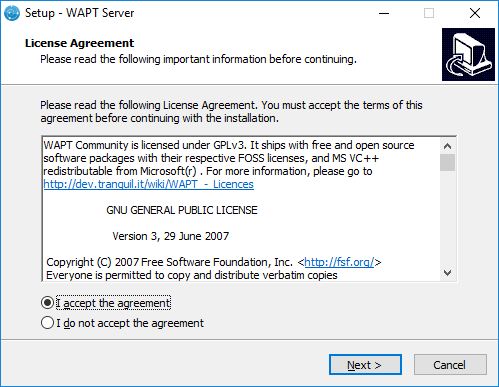
Accept the WAPT license terms
choose the installation directory (leave the default) and click on Next to go on to the next step;
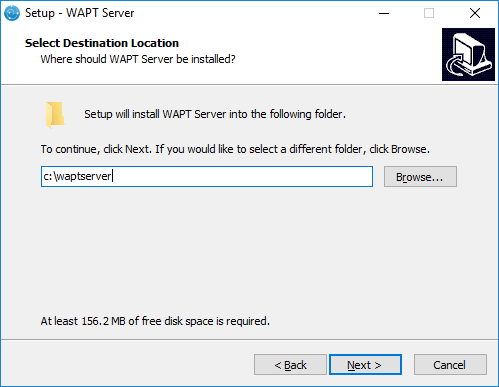
Choose the WAPT destination folder
choose additional task (leave as is for the first installation);

Choose additional task
choose the password for the WAPT server;
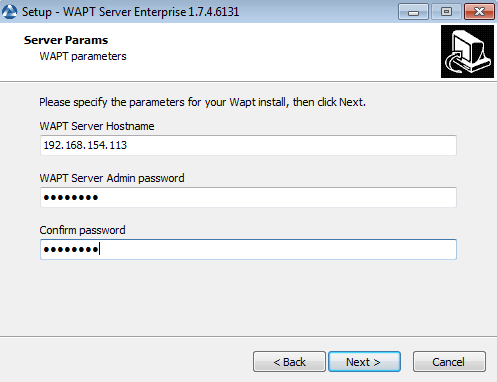
Choose Password
create a key if this is your first installation, otherwise select the existing key;
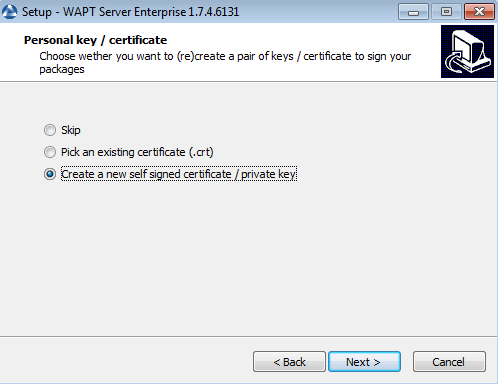
Create the signature key
choose the password for the private key;
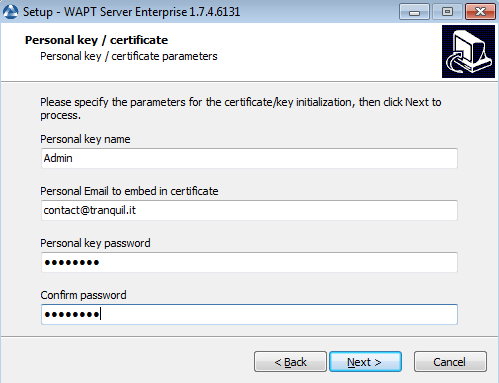
Choose the password of the private key
build the WAPT agent;
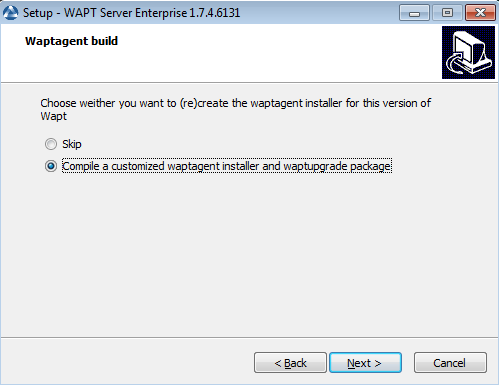
Build the WAPT agent
choose the prefix used for naming your WAPT packages;

Choose the prefix used for naming your WAPT packages
click on the Install to launch the installation, wait for the installation to complete, then click on Finish (leave default options);
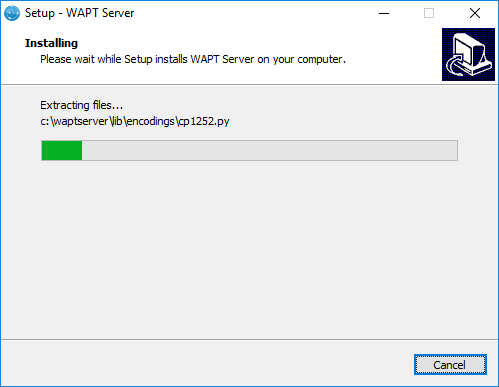
Progress of installation of the WAPT Server
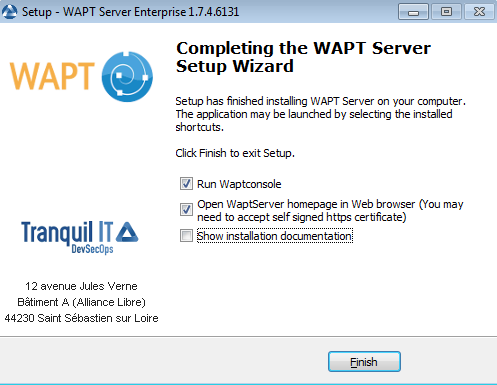
Installation has finished
click on Finished to close the installer;
The WAPT Server on your Windows is ready.
You may now go to the documentation on installing the waptagent!!