The WAPT Server having been successfully installed, now we will install the WAPT console.
The WAPT management console
Attention
If you have already generated the WAPT agent and deployed the agent on your Administrator’s workstation, then launch the WAPT console.
Note
Managing WAPT is done mainly via the WAPT console installed on the Administrator’s workstation.
It is recommended that the Administrator’s computer be joined to the Organization ‘s Active Directory.
The host name of the Administrator’s workstation must not be longer than 15 characters. This is a limit of sAMAccountName attribute in Active Directory.
The Administrator’s computer will become critical for WAPT administration and WAPT package testing.
If DNS records are properly configured, you should be able to access the WAPT web interface by visiting https://srvwapt.mydomain.lan.
As of 2024-09-20, the WAPT console only installs on Windows.
Hint
It is highly recommended to use the console on a dedicated management machine.
If the WAPT Server is installed on a Windows host
Warning
The WAPT console MUST NOT be installed on your Windows based WAPT Server.
The WAPT console must be installed on the workstation from which you manage your network.
Before installing the WAPT console, download on Tranquil IT server:
Discovery version: WAPT Discovery will be released later. For the time being the free Edition of WAPT please refer to wapt-1.8 documentation https://www.wapt.fr/en/doc-1.8/
Enterprise version:
Download
waptsetup.exeon the WAPT server.Rename the file waptsetup-tis.exe.
Copy to
C:\wapt\waptserver\repository\wapt.
You may now go on downloading and launching the installation of the WAPT console on the Administrator’s computer
If the WAPT Server is installed on a Linux host
Go to next step, the WAPT Console is already on your server.
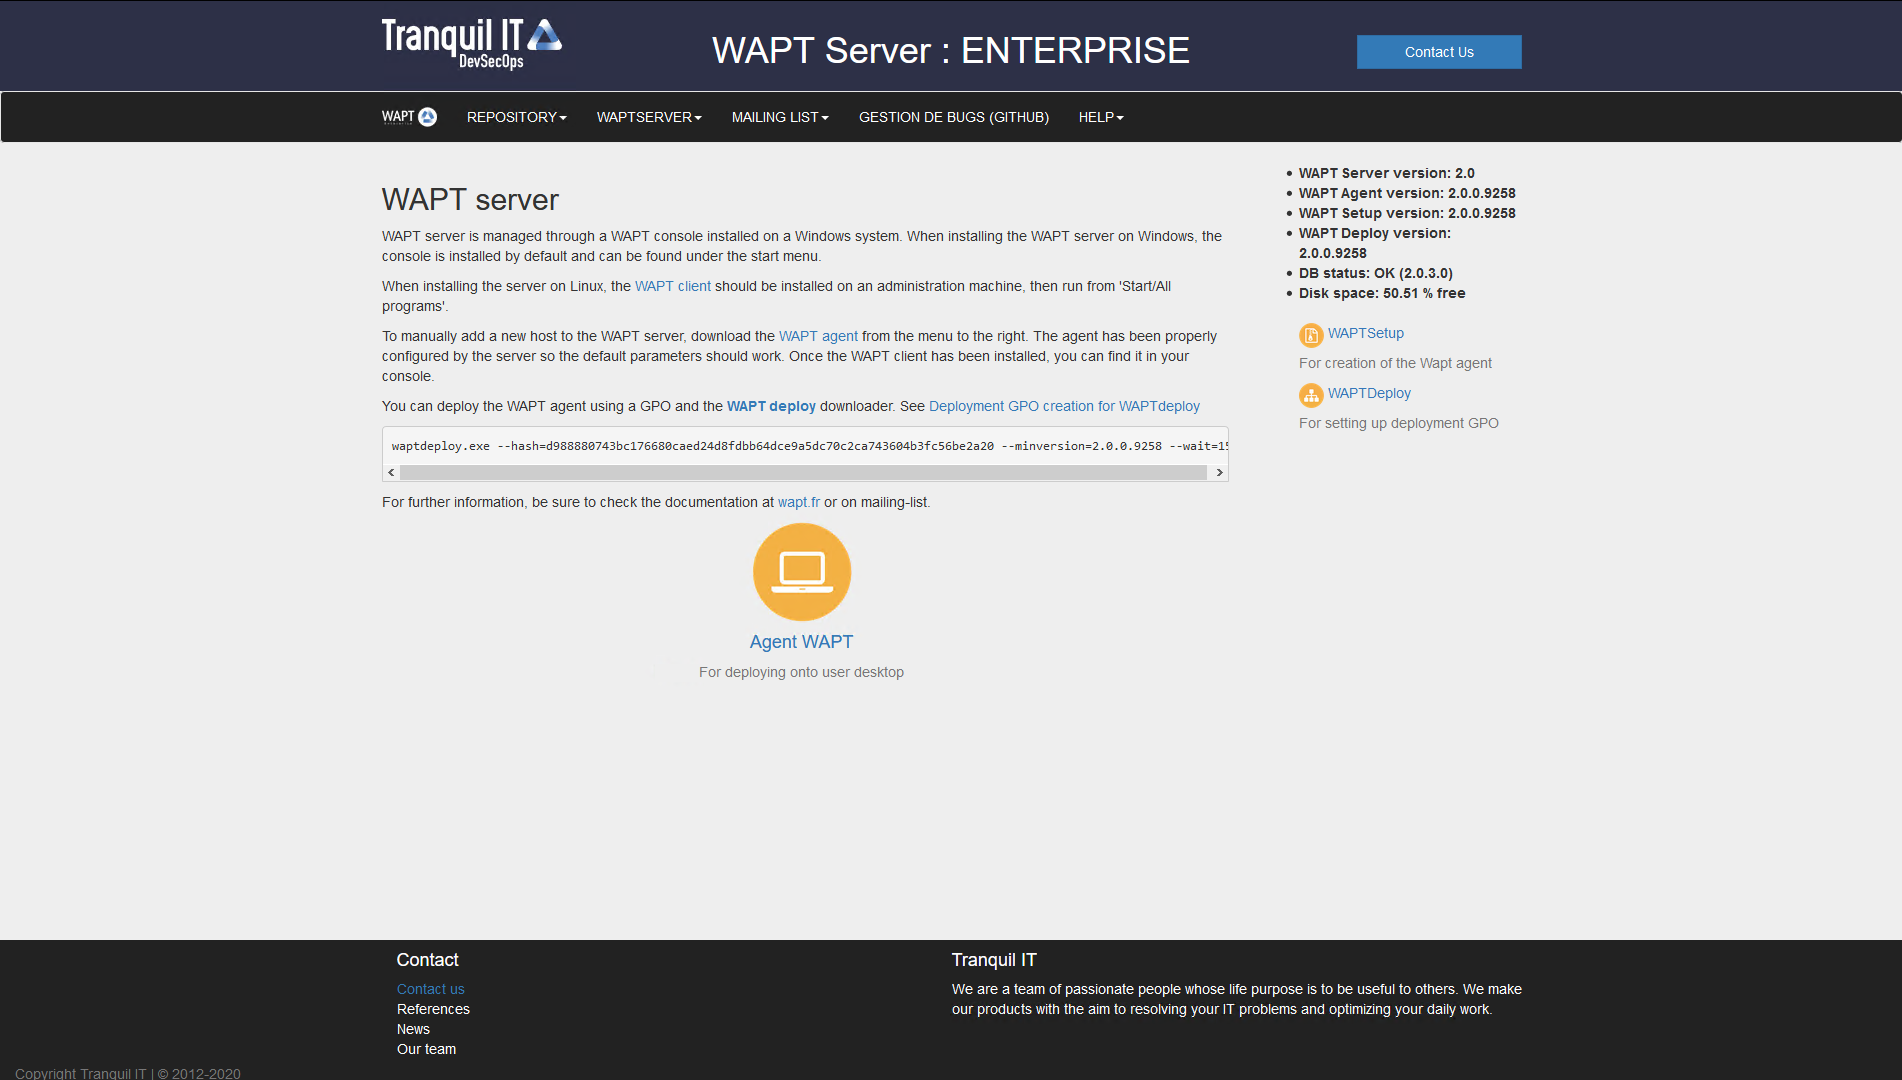
The WAPT Server web interface
If DNS records are properly configured, you should be able to access the WAPT web interface by visiting: https://srvwapt.mydomain.lan.
Click on WAPTSetup link on the right-hand side of the WAPT Server web page.
Installing on the Administrator’s computer
Attention
If waptagent are not compiled and installed on your computer, need to install waptsetup.
Else, the WAPT console is already installed with the waptagent, you just need configure it.
Start the executable installer as Local Administrator on the Administrator’s workstation.
Choose the language and click on OK to install the WAPT console.
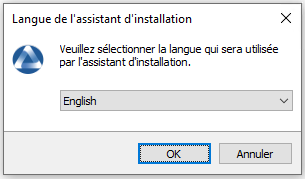
Choosing the language for WAPT
Click on OK to go on to the next step.
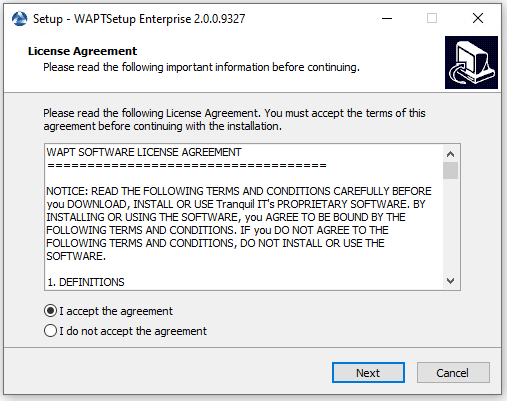
Accepting the WAPT license terms
Accept the licence terms and click on Next to go to next step.
Choose your installation options (default values should be right for most installations).
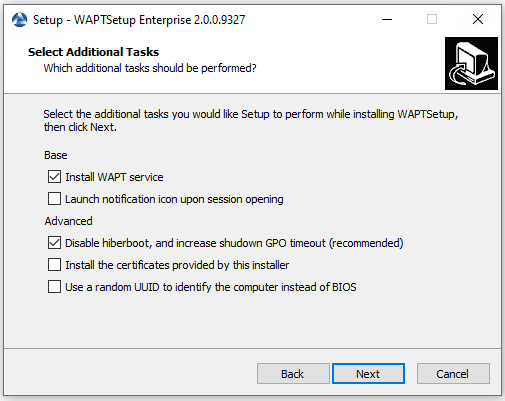
Choosing the installer’s options
Settings |
Description |
Default value |
|---|---|---|
Install WAPT service |
Add WAPT service on your management computer. |
Checked |
Launch notification icon upon session opening |
Launch waptagent on systray at startup. |
Not checked |
Disable hiberboot, and increase shutdown GPO timeout (recommended) |
Disable Windows fast startup for stability, increase timeout for waptexit. |
Checked |
Install the certificates provided by this installer |
Install Tranquil IT certificate only on this computer. |
Not checked |
Use a random UUID to identify the computer instead of BIOS |
For more information, check the documentation on BIOS UUID bugs |
Not checked |
Set up the WAPT Server URL.
Hint
Here, two choices become available to you.
If this is the first installation and the WAPT agent has not already been built / installed.
Check Static WAPT Informations and set:
WAPT repository URL: http://srvwapt.mydomain.lan/wapt.
WAPT Server URL: https://srvwapt.mydomain.lan.
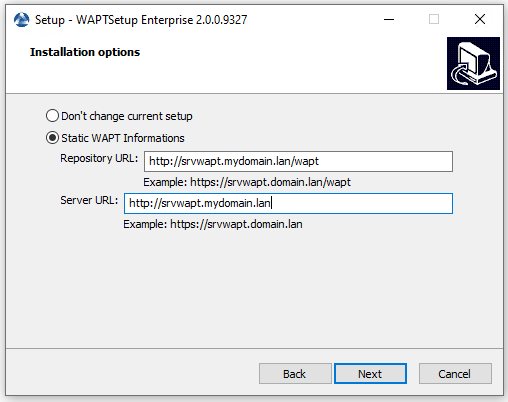
Choosing the WAPT repository and server
Choose the WAPT repository and server; click Next.
If the WAPT console or the WAPT agent is already installed:
Check Don’t change current setup, then click Next.
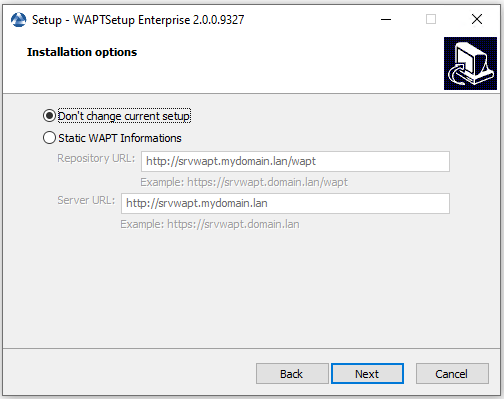
The WAPT repository and server are already set
Get a summary of the WAPT console installation.
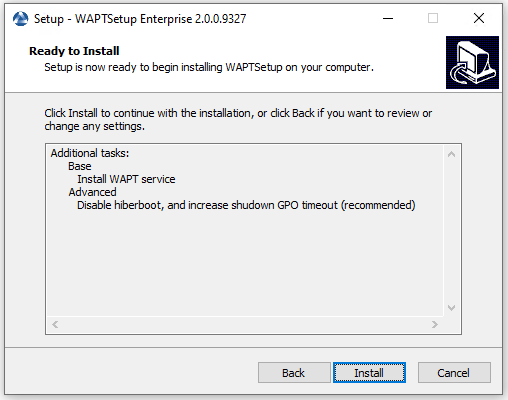
Click Install to launch the installation, wait for the installation to complete, then click on Finish (leave default options).
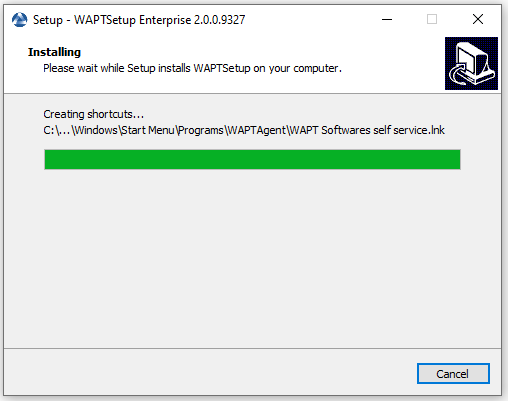
Installation Wizard in progress
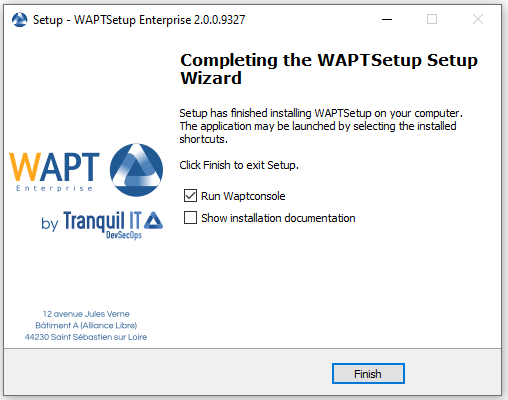
Installation Wizard has finished
Uncheck Show installation documentation.
Starting the WAPT console
Launch the WAPT console:
By looking for the binary.
C:\Program Files (x86)\wapt\waptconsole.exeOr using the Start Menu.
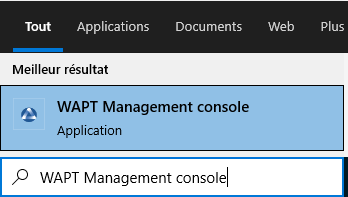
The WAPT Console Start Menu
Log into the WAPT console with the SuperAdmin login and password.
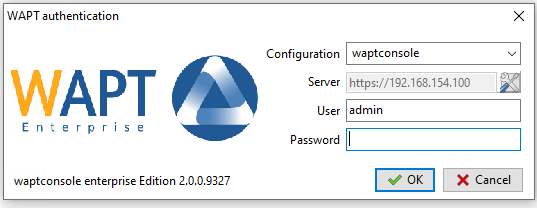
The WAPT Console authentication window
If you have any issue logging into the WAPT console, please refer to the FAQ: Error message when opening the WAPT console.
It is recommended to launch the WAPT console with a Local Administrator account to enable local debugging of WAPT packages.
For Enterprise version, it is possible to authenticate with Active Directory.
Attention
On Enterprise version, copy your licence.lic that you have received
in C:\Program Files (x86)\wapt\licences for enabling
Enterprise features.
First start after server installation
Hint
On first start, you must start the WAPT console with elevated privileges. .
Activation de la licence
Attention
If the following message appears, you have not copied your licence.lic
in C:\Program Files (x86)\wapt\licences.
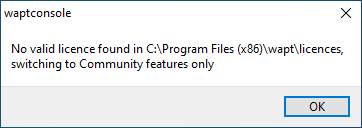
WAPT licence not found
Affectation du certificat
Note
A message may appear indicating that no personal certificate has been defined.
See the next step to create your certificate.
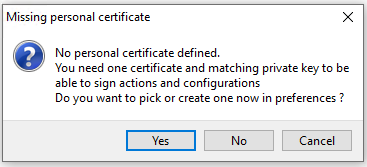
WAPT personal certificate not present
Définition du préfixe de paquet
Erreurs de lancement
Note
A message may appear indicating that your WAPT agent version is obsolete or not yet present.
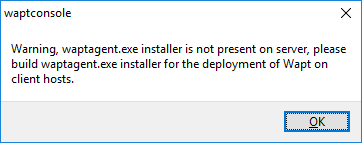
WAPT agent not present
Generating the Administrator’s certificate for signing WAPT packages
Hint
The name of the private key is
wapt-private.pem.The name of the public certificate signed with the private key is
wapt-private.crt.
Private key wapt-private.pem
Attention
The wapt-private.pem file is fundamental for security.
It must be stored in a safe place and correctly protected.
The wapt-private.pem file is the private key, it is located by default
in the C:\private folder of the Administrator workstation
and is password protected.
This private key will be used along with the certificate to sign packages before uploading them onto the WAPT repository.
Danger
The wapt-private.pem file MUST NOT be stored on the WAPT server.
Public certificate : wapt-private.crt
The wapt-private.crt file is the public certificate that is used
along with the private key. It is by default created in the C:\private
folder of the Administrator, copied and deployed in
C:\Program Files (x86)\wapt\ssl on the Windows desktops
or in /opt/wapt/ssl on the Linux and MacOS devices
managed by the Administrator via a WAPT package, a GPO or an Ansible role.
This certificate is used to validate the signature of packages before installation.
Attention
If the public certificate used on WAPT the console is not derived from the private key used for generating the WAPT agents, no interaction will be possible.
The child certificates of private keys are functional for interactions.
Building a certificate
In the WAPT console go to .

Building a self-signed certificate
Important
We have two different options:
Discovery
Fill in the following fields.

Creating a self-signed certificate for the Discovery version
Value |
Description |
Required |
|---|---|---|
Target key directory |
Folder where the private key and the public certificate will be stored. |
|
Key filename |
name of the .pem and Name of the private key. |
|
Private key password |
Password for locking and unlocking the key. |
|
Confirm password |
Password confirmation for locking and unlocking the key. |
|
Certificate name |
Name of the .crt certificate. |
|
Common Name (CN) |
Display name of the certificate. |
|
City |
Name of the certificate holder’s city to register in the certificate. |
|
Country (2 chars. E.g : FR) |
Name of the certificate holder’s country (FR, EN, ES, DE …) to register in the certificate. |
|
Service |
Name of certificate holder’s service or organizational department to register in the certificate. |
|
Organization |
Name of the certificate holder’s Organization to register in the certificate. |
|
E-mail address |
Email address of the certificate holder to register in the certificate. |
|
Export PKCS12` |
Create *.p12 certificate in Target key directory. |
|


Additional details are stored in the private key. This information will help with identifying the origin of the certificate and the origin of the WAPT package.
Hint
The password complexity must comply with your Organization’s security requirements (visit the ANSSI website for recommendations on passwords).
Danger
The path to your private key must not be in the installation path of WAPT (
C:\Program Files (x86)\wapt).If your key is stored in
C:\Program Files (x86)\wapt, your Administrator private key will be deployed on your clients, absolutely a no go!.The
wapt-private.pemfile should not be stored on the WAPT server.
Click on OK to go on to the next step.
If everything has gone well the following message will appear:

Certificate generated successfully
Click on OK.
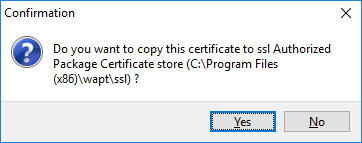
Confirmation of the copy of the certificate in the ssl folder
Click on Yes to copy the newly generated certificate in the folder
C:\Program Files (x86)\wapt\sslon Windows or/opt/wapt/sslon Linux or MacOS. This certificate will be picked up during the compilation of the WAPT agent and deployed on the client computers.
You may go on to the next step and Building the WAPT agent installer.
Enterprise
With WAPT Enterprise, you can create a Master key with a Certificate Authority flag that can both sign packages and sign new certificates.
Hint
In order to create new signed certificates for delegated users, please refer to creating a new certificate.
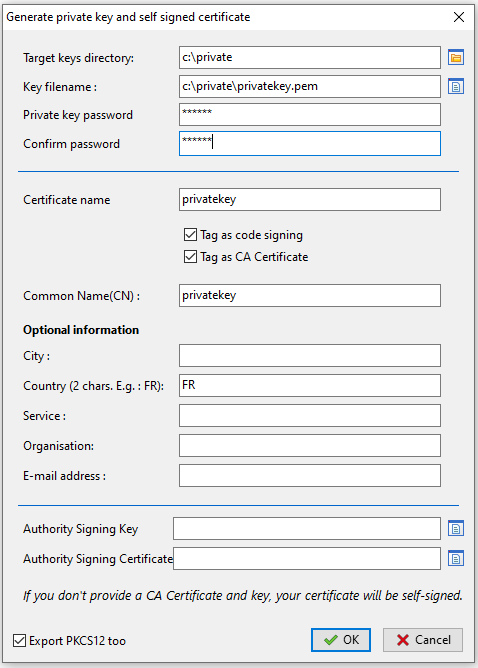
Creating a self-signed certificate for Enterprise version
Value |
Description |
Required |
|---|---|---|
Target key directory |
Folder where the private key and the public certificate will be stored. |
|
Key filename |
name of the .pem and Name of the private key. |
|
Private key password |
Password for locking and unlocking the key. |
|
Confirm password |
Password confirmation for locking and unlocking the key. |
|
Tag as code signing |
Check this box if the certificate/ key pair will be allowed to sign software packages. |
|
Tag as CA certificate |
Check this box if this certificate can be used to sign other certificates (main or intermediate Certificate Authority). |
|
Certificate name |
Name of the .crt certificate. |
|
Common Name (CN) |
Display name of the certificate. |
|
City |
Name of the certificate holder’s city to register in the certificate. |
|
Country (2 chars. E.g : FR) |
Name of the certificate holder’s country (FR, EN, ES, DE …) to register in the certificate. |
|
Service |
Name of certificate holder’s service or organizational department to register in the certificate. |
|
Organization |
Name of the certificate holder’s Organization to register in the certificate. |
|
E-mail address |
Email address of the certificate holder to register in the certificate |
|
Authority Signing Key |
Key ( |
|
Authority Signing Certificate |
Certicate ( |
|
Export PKCS12 |
Create |
|
Additional details are stored in the private key. This information will help with identifying the origin of the certificate and the origin of the WAPT package.
Hint
The password complexity must comply with your Organization’s security requirements (visit the ANSSI website for recommendations on passwords).
Note
If your Organization is already equipped with an Certificate Authority (CA), you will have to fill the certificate and the key in the fields Authority Signing Key and Authority Signing Certificate.
With this procedure you can generate new certificates/ key pairs with or without Code Signing capability.
For creating a Certificate Authority, go to the section on generating the Certificate Authority (CA).
Danger
The path to your private key must not be in the installation path of WAPT (
C:\Program Files (x86)\wapt).If your key is stored in
C:\Program Files (x86)\wapt, your Administrator private key will be deployed on your clients, absolutely a no go!.The
wapt-private.pemfile should not be stored on the WAPT server.
If everything has gone well the following message will appear:
Certificate generated successfully
Click on OK to go on to the next step.
Confirmation of the copy of the certificate in the ssl folder
Click on Yes to copy the newly generated certificate in the
C:\Program Files (x86)\wapt\sslfolder. This certificate will be picked up during the compilation of the WAPT agent and deployed on the clients computers.
You may go on to the next step and build the WAPT agent installer.
Building the WAPT agent installer
The waptagent binary is an InnoSetup installer.
Once the WAPT console has been installed on the Administrator computer, we have all files required to build the WAPT agent installer:
Files that will be used during building of the WAPT agent are located in
C:\Program Files (x86)\wapt.Installer source files (
.issfiles) are located inC:\Program Files (x86)\wapt\waptsetup.
Hint
Before building the WAPT agent, please verify the public certificate(s)
in C:\Program Files (x86)\wapt\ssl.
If you wish to deploy other public certificates on your Organization’s computers that are equipped with WAPT, you will have to copy them in that folder.
Danger
DO NOT COPY the private key of any Administrator
in C:\Program Files (x86)\wapt.
This folder is used when building the WAPT agent and the private keys would then be deployed on all the computers.
In the WAPT console, go to
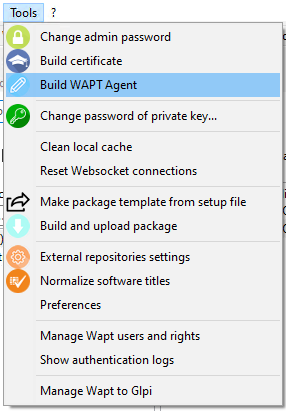
Generating the WAPT agent from the console
Hint
Before building the WAPT agent, you need to choose how it will identify itself with the WAPT Server.
Choosing the mode to uniquely identify the WAPT agents
In WAPT you can choose the unique identification mode of the WAPT agents.
When a WAPT agent registers the server must know if it is a new machine or if it is a machine that has already been registered.
For this, the WAPT Server looks at the UUID in the inventory.
WAPT offers 3 modes to help you distinguish between hosts, it is up to you to choose the mode that best suits you.
Attention
After choosing a mode of operation it is difficult to change it, think carefully!
Identifying the WAPT agents by their BIOS UUID (serial number)
This mode of operation makes it possible to identify the machines in the console in a physical manner.
If you replace a computer and give the new computer the same name as the previous one, you will have two computers that will appear in the WAPT console since you will have physically two different computers.
Note
Some vendors do inadequate work and assign the same BIOS UUIDs to entire batches of computers. In this case, WAPT will only see one computer!!!
Identifying the WAPT agent by host name
This mode of operation is similar to that in Active Directory. The machines are identified by their hostname.
Note
This mode does not work if several machines in your fleet share the same name. We all know it should not happen!!
Identifying the WAPT agents with a randomly generated UUID
This mode of operation allows PCs to be identified by their WAPT installation. Each installation of WAPT generates a unique random number. If you uninstall WAPT and then reinstall it, you will see a new device appear in your console.
Discovery
Generating the WAPT agent from the console
Value |
Description |
Required |
|---|---|---|
Authorized packages certificates bundle |
Folder of trusted certificate. |
|
Include non CA too |
Include local WAPT certificate. |
|
Main WAPT repository address |
Address of the repository on the WAPT Server. |
|
WAPT Server address |
Address of the repository on the WAPT Server. |
|
Path to the https servers CA certificates bundle |
Path to the certificates used for HTTPS verification. |
|
Organization |
Name of the Organization to identify the origin of WAPT packages. |
|
Use computer FQDN for UUID |
If FQDN are used for identifying WAPT agents. |
|
Use random host UUID (for buggy BIOS) |
If random UUIDs are used for identifying WAPT agents. |
|
Danger
The checkbox Use kerberos for the initial registration must be checked ONLY IF you have followed the documentation on Configuring the kerberos authentication.
The checkbox Verify the WAPT Server HTTPS certificate must be checked ONLY IF you have followed the documentation on Activating the verification of the SSL / TLS certificate.
Provide the password for unlocking the private key.
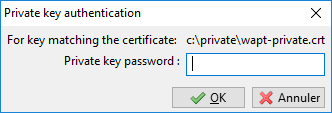
Entering the password for unlocking the private key

Progression of WAPT agent installer building
Once the WAPT agent installer has finished building, a confirmation dialog pops up indicating that the waptagent binary has been successfully uploaded to https://srvwapt.mydomain.lan/wapt/.

Confirmation of the WAPT agent loading onto WAPT repository
Note
A warning shows up indicating that the GPO hash value should be changed. GPOs may be used to deploy the WAPT agent on your Organization’s computers.
Danger
After building the agent, install the new WAPT agent on the WAPT management console.
Enterprise
Fill in the informations that are necessary for the installer.
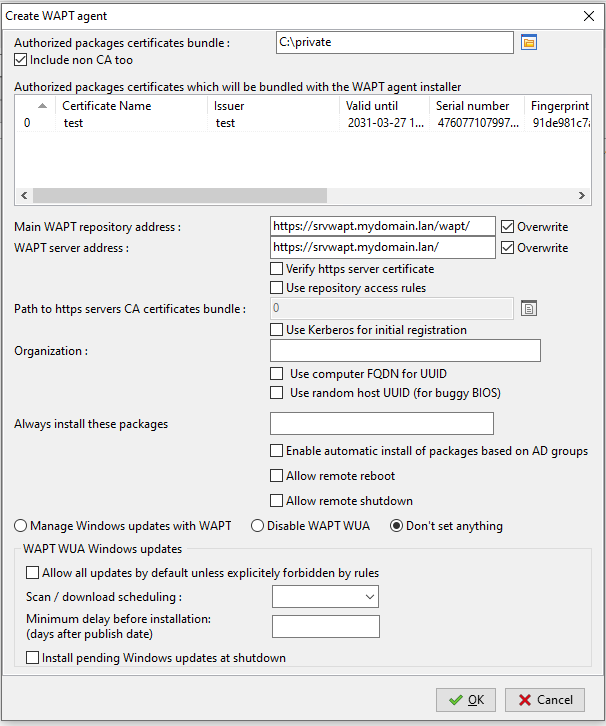
Filling in the informations on your Organization
Value |
Description |
Required |
|---|---|---|
Authorized packages certificates bundle |
Folder of trusted certificate. |
|
Include non CA too |
Include local WAPT certificate. |
|
Main WAPT repository address |
Address of the repository on the WAPT Server. |
|
WAPT Server address |
Address of the repository on the WAPT Server. |
|
Verify https server certificate |
If HTTPS certificate client authentication is activated on the WAPT server. |
|
Use repository access rules |
For using rules of for replicating remote repositories. |
|
Path to the https servers CA certificates bundle |
Path to the certificates used for HTTPS verification. |
|
Use Kerberos for initial registration |
If Kerberos authentification of the WAPT agents is used with the WAPT Server. |
|
Organization |
Name of the Organization to identify the origin of WAPT packages. |
|
Use computer FQDN for UUID |
If FQDN are used for identifying WAPT agents. |
|
Use random host UUID (for buggy BIOS) |
If random UUIDs are used for identifying WAPT agents. |
|
Always install these packages |
Installs automatically a group packages upon WAPT agent installation. |
|
Enable automatic install of packages based on AD Groups |
Enables the installation of profile packages. This feature can degrade the performance of WAPT. |
|
Allow remote reboot |
Allows remote reboots from the WAPT console. |
|
Allow remote shutdown |
Allows remote shutdown from the WAPT console. |
|
Manage Windows updates with WAPT | Disable WAPT WUA | Don’t set anything |
Enables or disables WAPT WUA. |
|
Allow all updates by default unless explicitely forbidden by rules |
Allows all Windows updates if not forbidden by WUA rule packages. |
|
Scan / download scheduling |
Sets the Windows Update scan periodicity. |
|
Minimum delay before installation (days after publish date) |
Sets a deferred installation delay before publication. |
|
Install pending Windows updates at shutdown |
Installs update when the machine shuts down. |
|
Hint
For more information to Windows update section, refer to this article on configuring WAPTWUA on the WAPT agent
Danger
The checkbox Use kerberos for the initial registration must be checked ONLY IF you have followed the documentation on Configuring the kerberos authentication.
The checkbox Verify the WAPT Server HTTPS certificate must be checked ONLY IF you have followed the documentation on Activating the verification of the SSL / TLS certificate.
Provide the password for unlocking the private key.
Providing the password for unlocking the private key
Progression of WAPT agent installer building
Once the WAPT agent installer has finished building, a confirmation dialog pops up indicating that the waptagent binary has been successfully uploaded to https://srvwapt.mydomain.lan/wapt/.
Confirmation of the WAPT agent loading onto WAPT repository
Note
A warning shows up indicating that the GPO hash value should be changed. GPOs may be used to deploy the WAPT agent on your Organization’s computer.
Attention
After building the agent on your management PC, quit the WAPT console and install the new WAPT agent that has been generated on your WAPT management computer.