Deploying a Windows OS via WADS
![]()
Deployment process
Using BIOS/UEFI:
the host makes a DHCP request to obtain an IP and the PXE configuration (TFTP server IP & iPXE file name), or
the host boots from a USB stick which embeds the PXE configuration
Using BIOS/UEFI:
the host makes a TFTP request to get iPXE and her configuration, or
the host runs the iPXE configuration from the USB stick.
Then, using iPXE, the host makes a HTTPS request to the WADS Server to obtain the BCD and the
WinPEfile.Finally, using WinPE, the host contacts the WADS Server via HTTP to obtain the OS iso file and its associated configuration files.
Requirements before starting
To use WADS on your WAPT Console, you need to install a specific package on your management station.
Two packages are available, only one is needed. Choose according to your needs:
This package integrates the minimal requirements for creating a WinPE file.
This package installs Windows ADK, all the tools to create and modify WinPE.
As of 2024-09-20, the user account using the WADS Console MUST have Local Administrator rights in the WAPT Access Control Lists.
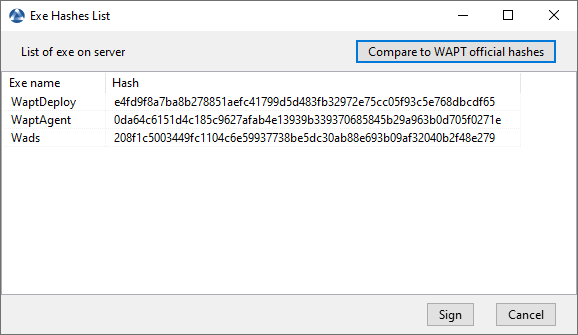
Signing WADS with your certificate:
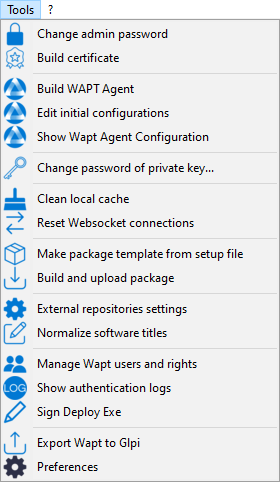
Go to the OS Deploy tab:
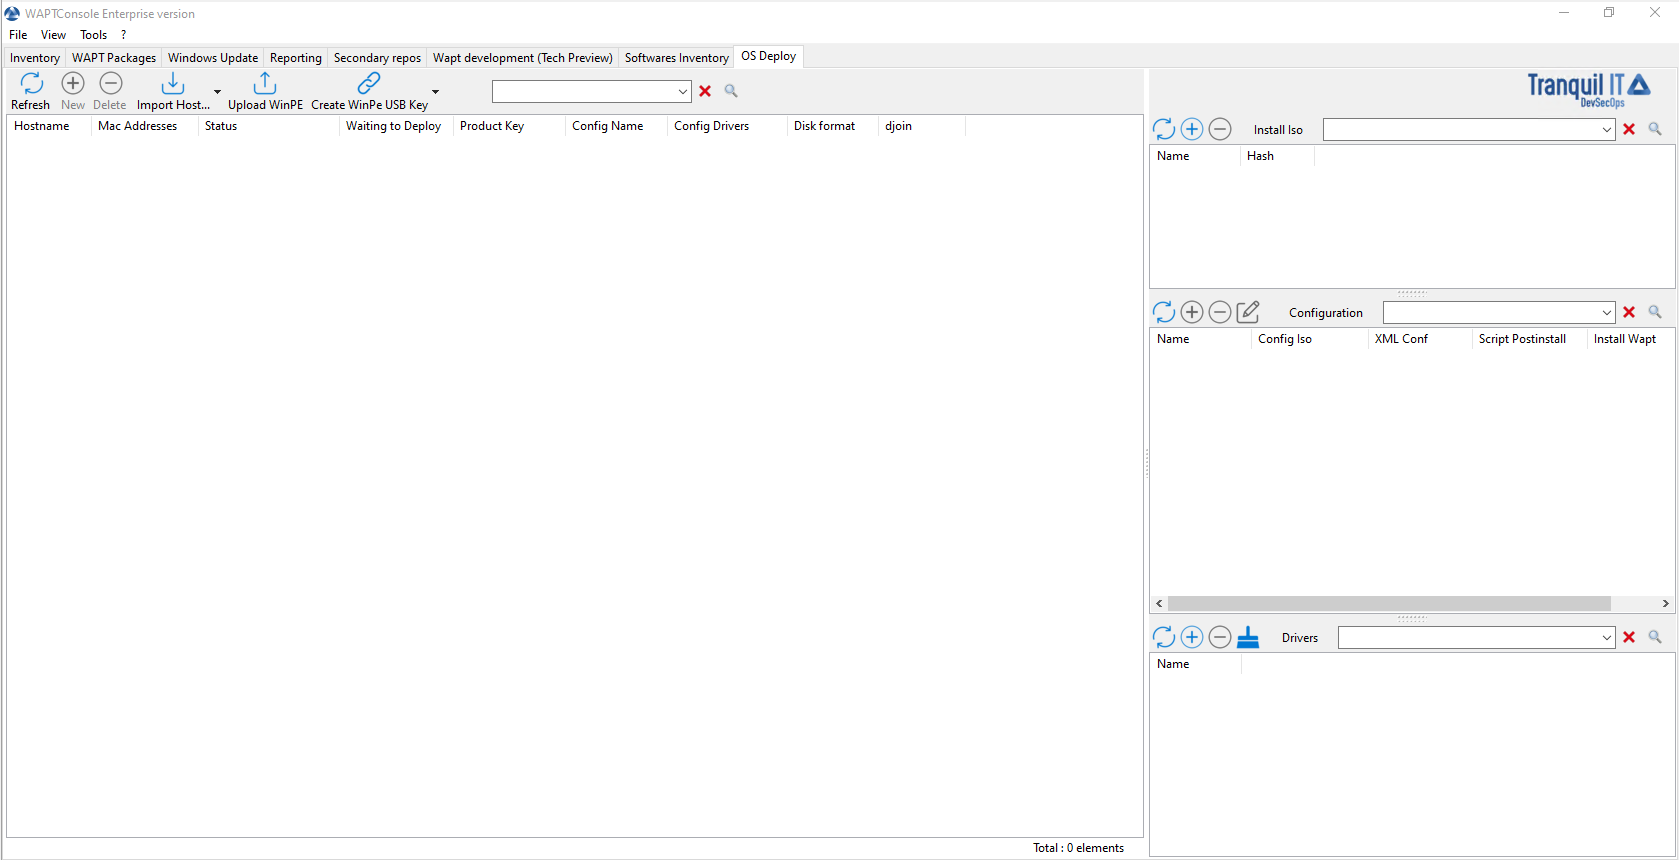
Main window of the WADS Console
Adding the WinPE files
WinPE is a minimal operating system used to install, deploy, and repair Windows.
On WADS, WinPE is used to bootstrap the deployment of Windows.
If no WinPE file exists, then this pop-up will appear.
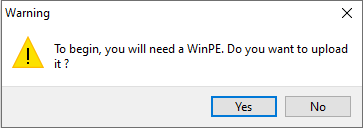
Then click on Upload WinPE.
Choose the keyboard layout. This step is important because you will type in the hostname in WinPE using the keyboard layout chosen with this step.
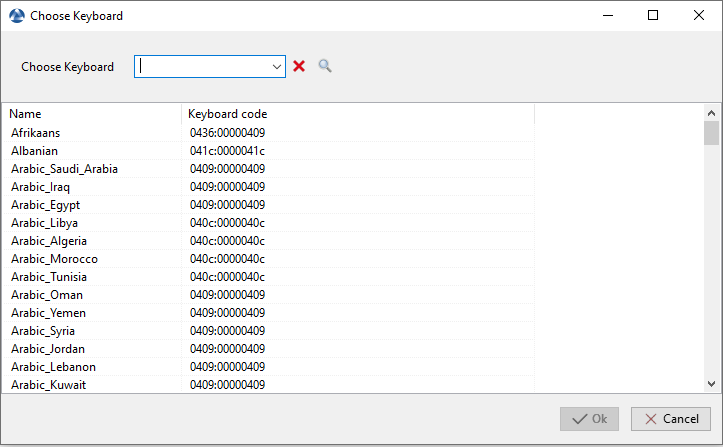
Dialog box for selecting the keyboard in the WADS Console
Select the certificate with which to sign the USB stick files:
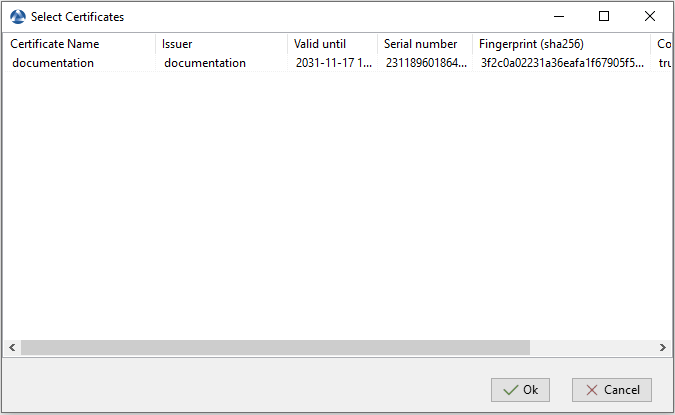
Dailog box for selecting the certificate in the WADS Console
Wait while the
WinPEfile uploads onto the WAPT administration computer:
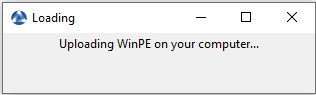
Wait while the
WinPEfile uploads to the WADS Server:
Note
The WinPE file has been successfully uploaded to the WADS Server.
Adding the Operating System ISO
The next step is to add the Operating System .iso file to use for deploying Windows.
Use the latest official Windows release from Microsoft as the .iso file.
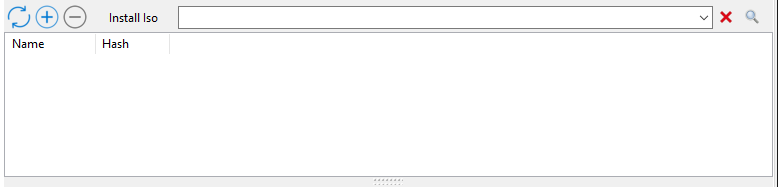
ISO section of the WADS Console
In the Install ISO section in the main WADS Console, click on the + button to upload the selected .iso file.
Select the .iso file and give it a name.
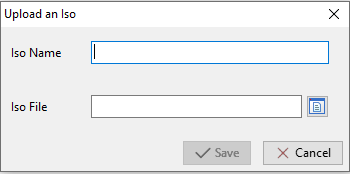
Dialog box for selecting the ISO file to upload to the WADS Server
When uploaded, the .iso file is signed with the selected certificate:
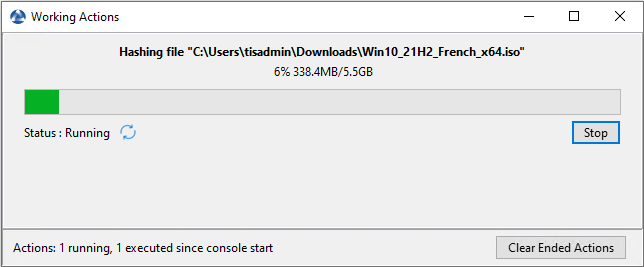
Dialog box informing of the signing progression of the ISO file in the WADS Console
After the signing step has successfully completed, the .iso file is uploaded to the WADS Server:

Dialog box informing of the uploading progession of the ISO file in the WADS Console
After the uploading step has successfully completed, the .iso file appears in the Install iso section in the main WADS Console:

Hint
It is possible to upload several .iso versions of Windows for different use cases.
Adding the XML configuration answer file
The next step is to add the XML answer file that will be used to configure the deployment of the Windows Operating System.
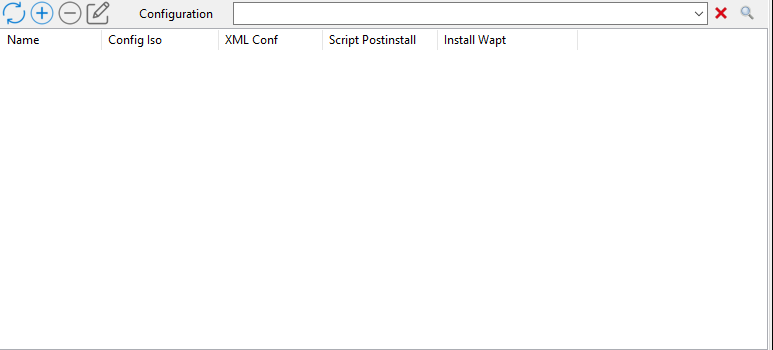
XML answer file section of the WADS Console
In the Configuration section click on the + button to configure the XML answer file.
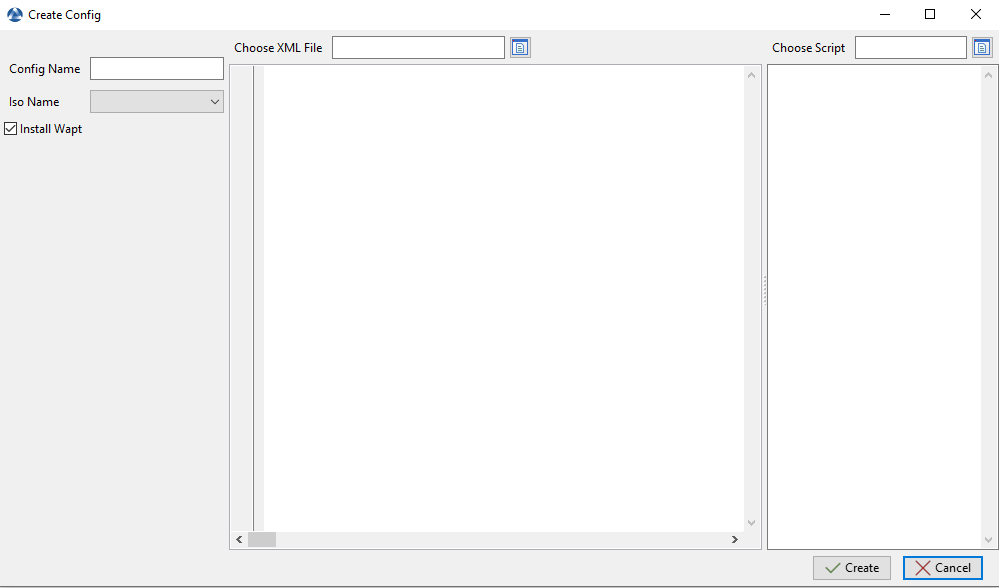
Window for creating the XML answer configuration file in the WADS Console
Options |
Description |
|---|---|
Config Name |
Defines the name of the XML answer file. |
ISO Name |
Defines the .iso file to associate to the XML answer file. |
Install Wapt |
Defines whether to install the WAPT agent after the installation of the Operating System. |
Choose XML File |
Defines the XML answer files template to use. |
Choose Script |
Defines a .bat post-install script to be run after the installation of the Operating System. |
Insert into the Config Name field the name of the XML answer file.
Select with the Iso Name dropdown the ISO file to association to the deployment configuration.
Check or uncheck the Install WAPT checkbox to install the WAPT Agent by default.
Select the XML answer file template to associate to the deployment configuration with the Choose XML File field.
Note
By default, WADS integrate 2 type of answer files:
Offline to join a computer with the DirectAccess Offline Domain Join (Djoin) method
Online to join a computer on the AD
Update this part with your join service account:
<Identification>
  <Credentials>
    <Domain>mydomain.lan</Domain>
    <Password>password</Password>
    <Username>wadsjoin</Username>
  </Credentials>
  <JoinDomain>mydomain.lan</JoinDomain>
</Identification>
Hint
You can use your own answer file with WADS.
If necessary, set the post-install script in Choose Script, for example:
"C:\Program Files (x86)\wapt\wapt-get.exe" install tis-firefox-esr
Click on the Create button to create the XML answer file.
When done, the configuration appears in the Configuration section.

Hint
It is possible to create several XML answer file configurations for different versions of Windows and for different use cases.
Adding drivers
The next step is to add driver bundles that will be used during the deployment of the Windows Operating System.
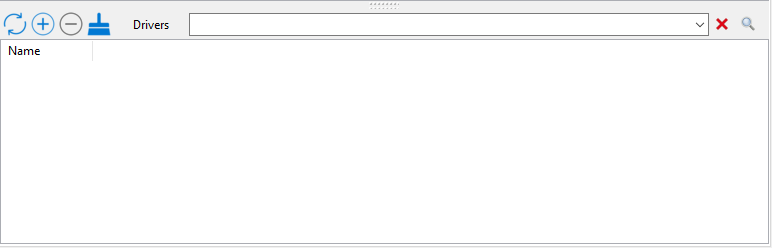
Drivers section of the WADS Console
In the Drivers section click on the + button to add a driver pack to the WADS Server.
This window allows you to upload the driver bundles to associate to the Windows deployment.
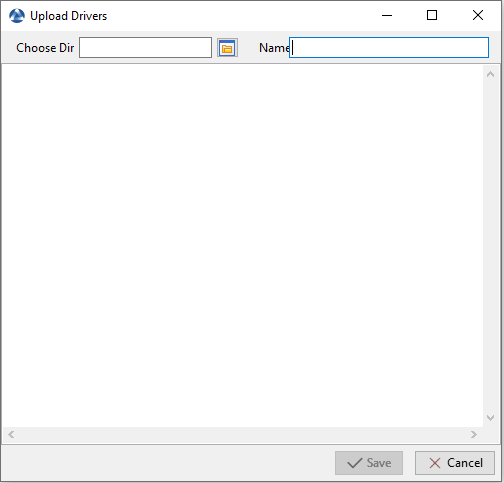
Window for creating the driver bundles in the WADS Console
Options |
Description |
|---|---|
Choose Dir |
Defines the path to the folder containing the driver bundles. |
Name |
Defines the name of the driver bundle. |
Click on the Save button, the uploading of the driver bundles starts.
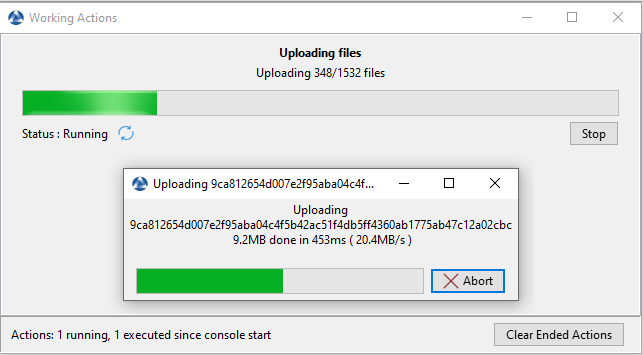
Dialog box informing the uploading progression of the driver bundles in the WAPT Console
When uploaded, the drivers pack appears in the Drivers section of the WADS Console.

Hint
It is possible to create several driver packs for different versions of Windows and for different use cases.
Note
It is possible to use the .cab files from OEM.
It is also possibe to export the drivers from an existing well functioning host using a Powershell command.
Export-WindowsDriver -Online -Destination D:\Drivers
Booting the host to re-image with WADS
WADS allows 2 methods boot the host to re-image:
Booting the host with a USB stick
Note
The USB key used MUST be FAT32 formatted and empty.
Insert the USB stick in the WAPT adminsitration workstation and click on the Create WinPE USB Key button to start the process.
Choose the keyboard layout. This step is important because you will type in the hostname in WinPE using the keyboard layout chosen with this step.
Dialog box for selecting the keyboard in the WADS Console
Select the certificate with which to sign the USB stick files:
Dailog box for selecting the certificate in the WADS Console
Click on the Upload WinPE to format the USB stick and copy the WinPE file.
Boot to the computer’s boot menu using the USB stick option and go to the run the deployment step.
Booting the host with the network
Note
Booting from the LAN requires:
A properly working TFTP server;
A properly working DHCP server;
Having port 69 open on the WAPT Server for inbound traffic, and having tftp conntrack enabled on intermediate firewalls if you have firewalls between the server and the client computer.
Boot to the computer’s boot menu using the LAN option and go to the run the deployment step.
Deploying the Windows image
There are 3 choices when booting with iPXE:
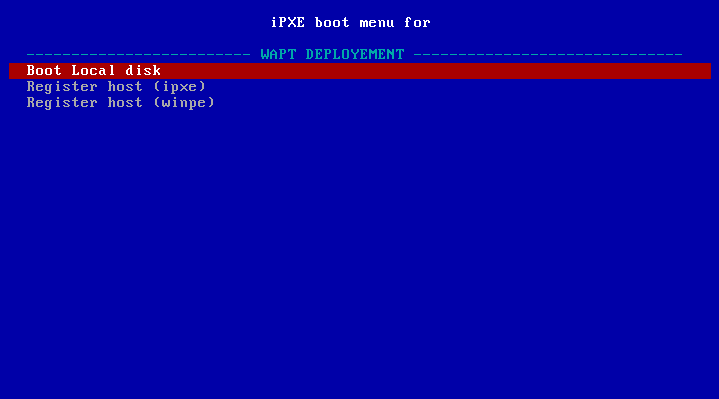
iPXE boot menu window
Boot Local disk for starting normally from local storage;
Register host (ipxe) to register the host with the WADS Server using the iPXE method;
Register host (winpe) to register the host with the WADS Server using the WinPE method.
If choosing Register host (ipxe), define a hostname:

Text terminal window requesting a hostname when registering using the iPXE method
Warning
The keybord is qwerty
Refresh the WADS Console with F5, the host appears in the OS Deploy tab.

Host waiting to be deployed
At this time, the Waiting to Deploy status of the host is False.
Right click on the host to open the menu list.
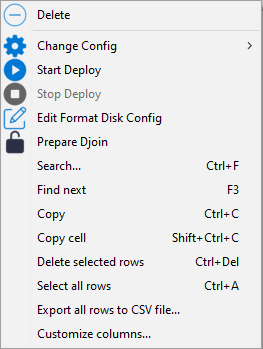
Go to and select a XML answer file.
Click on Start Deploy, the Waiting to Deploy status of the host switches to
True.

Warning
If the host is to be a member of the Active Directory domain, set information either using:
Reboot the host to the same boot option as before (USB or LAN), Windows will start to install.
When the installation has completed, the OS Deploy tab, the status switches to
Done.
If choosing Register host (winpe), define a hostname:
Text terminal window requesting a hostname when registering using the WinPE method
Note
The keybord is in the same layout as the one set during the WinPE step of this documentation.
Refresh the WADS Console with F5, the host appears in the OS Deploy tab.
Host waiting to be deployed
At this time, the Waiting to Deploy status of the host is False.
Right click on the host to open the menu list.
Go to and select a XML answer file.
Click on Start Deploy, the Waiting to Deploy status of the host switches to
True.
Warning
If the host is to be a member of the Active Directory domain, set information either using:
Reboot the host to the same boot option as before (USB or LAN), Windows will start to install.
When the installation has completed, the OS Deploy tab, the status switches to
Done.
Joining the host to an Active Directory domain
The offline method uses the Djoin method.
Right-click on the host to open the menu list.
Click on Prepare Djoin.
Select the OU to which to attach the host (or define it manually) and click on Save.
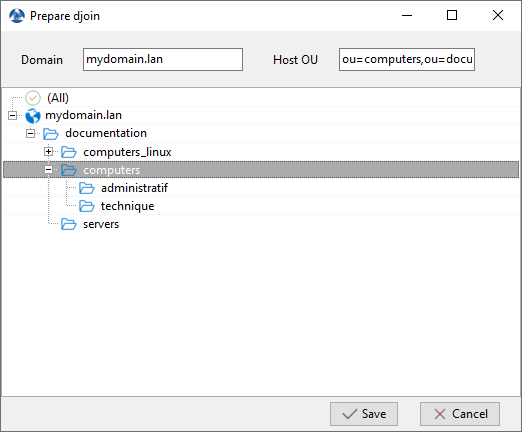
Selecting the Organizational Unit to which to automatically attach the re-imaged host
The
Djoinfile is ready to be used to join the host as a member to the Active Directory domain.