Installing the WAPT Agent on the Administrator’s computer
Attention
If the WAPT Agent is not compiled and installed on your computer, you need to run the setup of WAPT installer to open the WAPT Console.
Start the executable installer as Local Administrator on the Administrator’s workstation.
Choose the language for the WAPT installer.
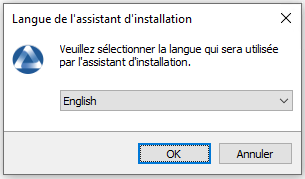
Click on OK to go on to the next step.
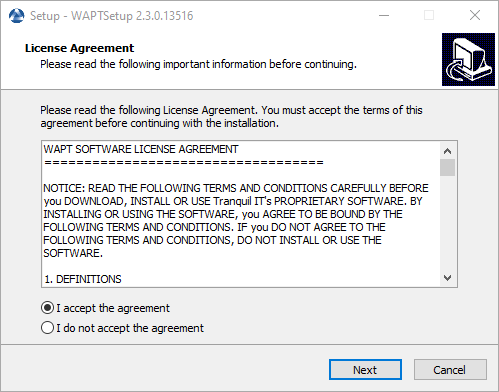
Accept the licence terms and click on Next to go to next step.
Choose additional configuration tasks (leave the default if not sure).
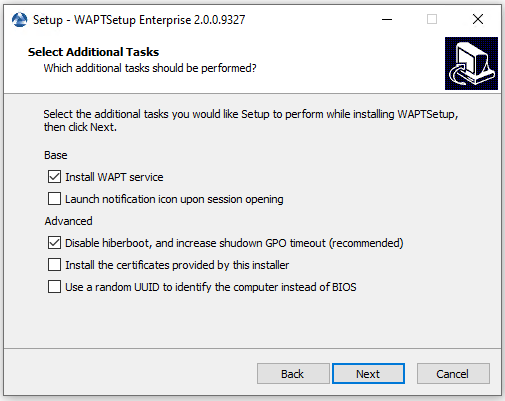
Choosing the WAPT Agent installer options
Settings |
Description |
Default value |
|---|---|---|
Install WAPT service checkbox |
Enables the WAPT service on this computer. |
Checked |
Launch notification icon upon session opening checkbox |
Launches the WAPT Agent in systray on host startup. |
Not checked |
Disable hiberboot, and increase shutdown GPO timeout (recommended) checkbox |
Disables Windows fast startup for stability, it increases the timeout for the WAPT Exit utility. |
Checked |
Install the certificates provided by this installer checkbox |
Installs Tranquil IT certificate on this computer. |
Not checked |
Use a random UUID to identify the computer instead of BIOS checkbox |
For more information, check the documentation on BIOS UUID bugs |
Not checked |
Set up the WAPT Server URL.
Choose Don’t change current setup. The WAPT Agent is configured with initial configuration in the WAPT Console.
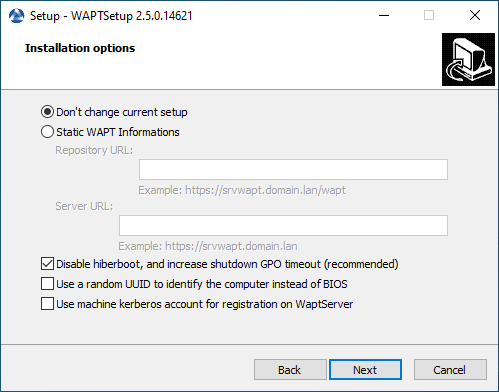
Window showing “Don’t change current setup” checkbox.
Click Next.
Check Don’t change current setup, then click Next.
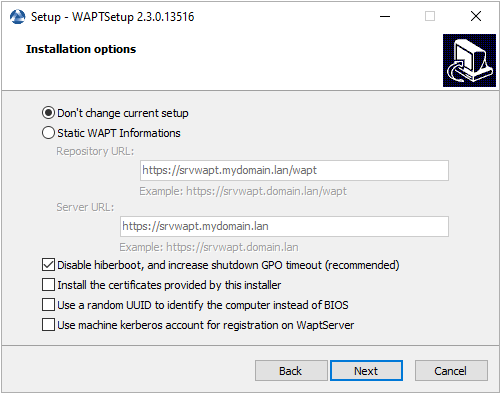
The WAPT repository and the WAPT Server are already set
Get a summary of the WAPT Console installation.
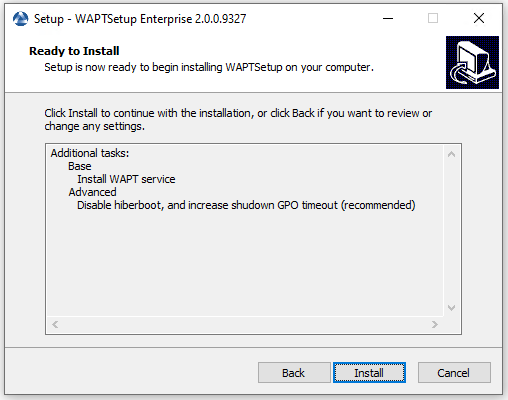
Summary of the WAPT installation abstract
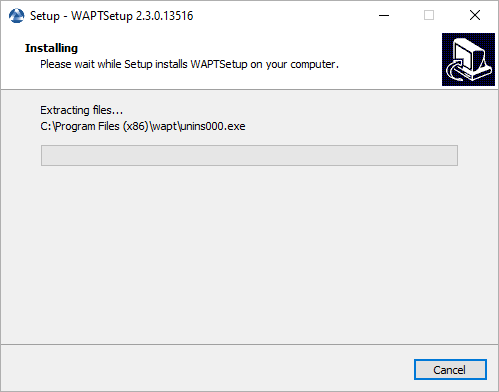
Click Install to launch the installation, wait for the installation to complete, then click on Finish (leave default options).
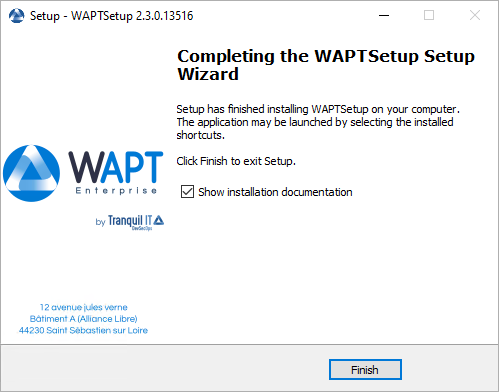
Uncheck Show installation documentation.