Win11 ARM is currently in Tech Preview. Not all WAPT functionalities are available, such as Windows Update Agent (WUA). Some duplicates in software or hardware inventory have been observed.
Attention
If you install the WAPT Agent on Windows Server 2012r2, it needs these features need to be activated before installing the WAPT Agent:
Manually installing the WAPT Agent requires Local Administrator rights on the computer.
Download the WAPT Agent from your WAPT Server then launch the installer.
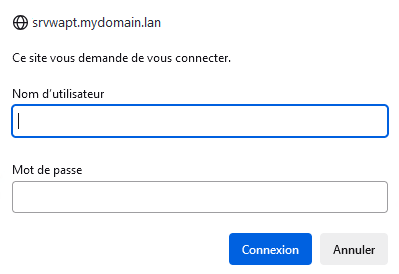
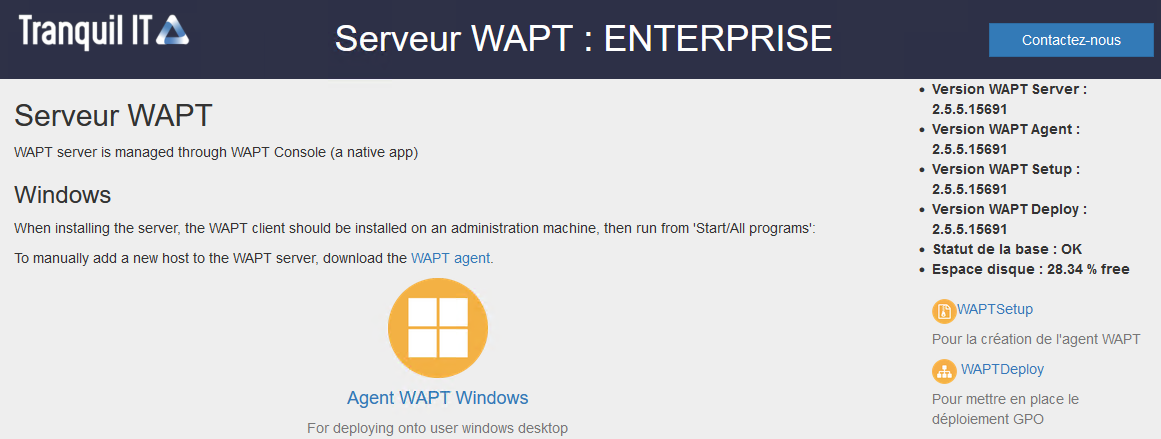
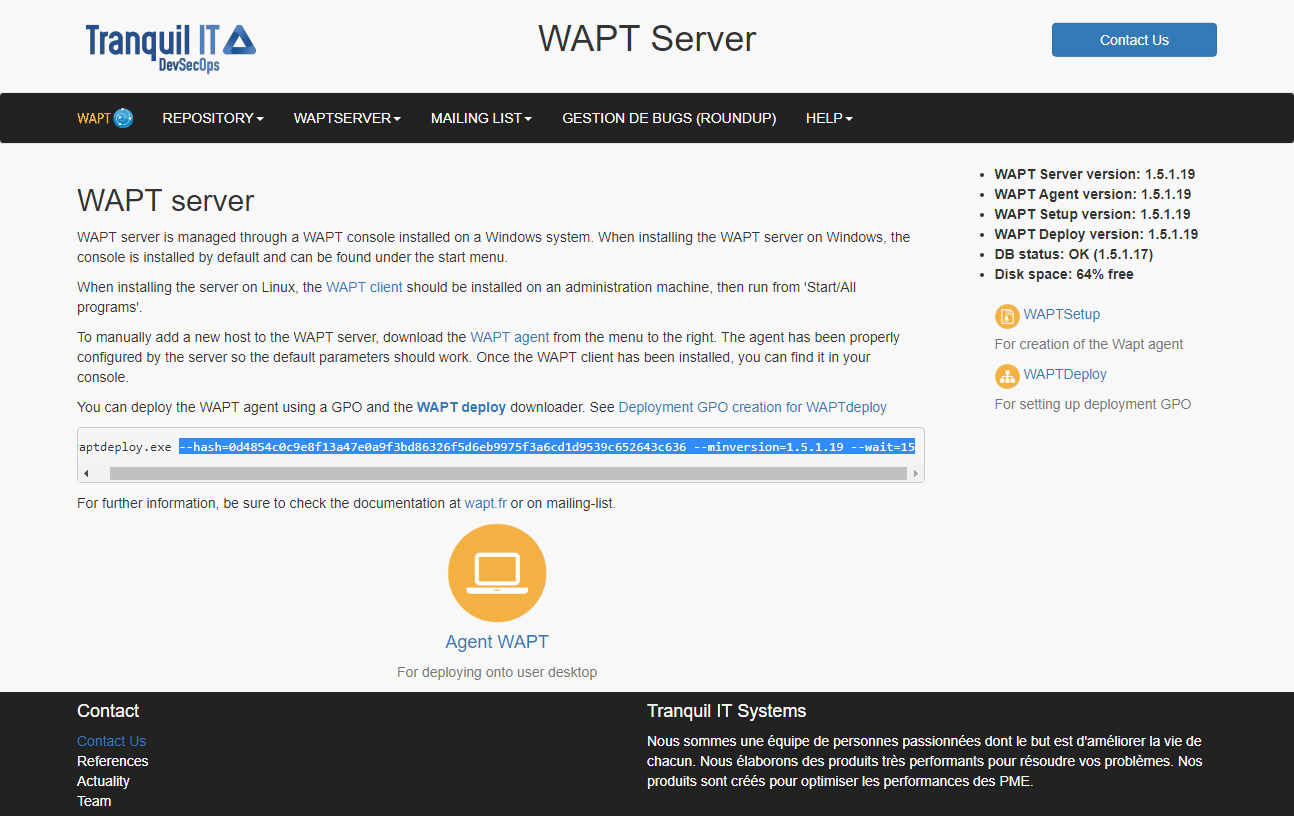
The waptagent.exe installer is available at WAPT serveur web home page.
The direct download link is for example: https://srvwapt.mydomain.lan/wapt/waptagent.exe.
Choose the language for the WAPT installer and click on OK to go on to the next step.
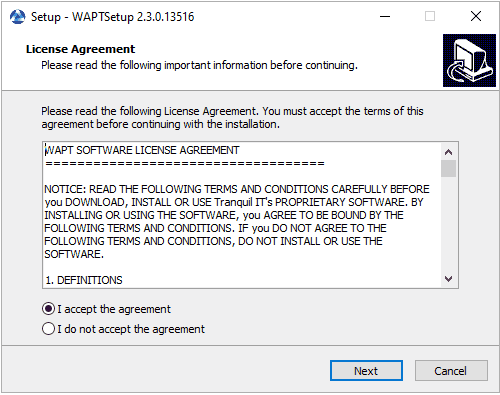
Accept the licence terms and click on Next to go to next step.
It is necessary to provide the checksum of the waptagent.exe as argument to the WAPT Deployment utility.
This will prevent the remote host from executing an erroneous / corrupted waptagent binary.
Parameters and the waptagent.exe checksum to use for the the WAPT Deployment utility GPO are available on the WAPT Server by visiting https://srvwapt.mydomain.lan.
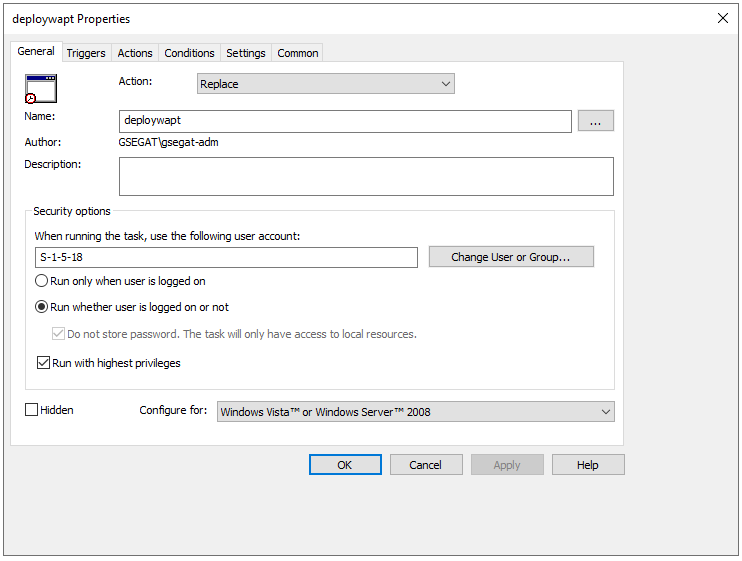
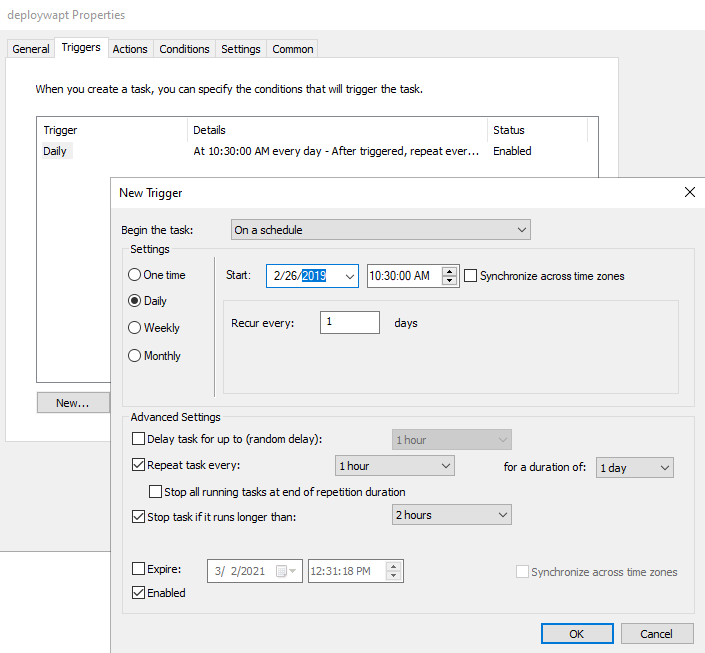
In the Settings tab, only check Run task as soon as possible after a scheduled start is missed.
Hint
To verify that the GPO is working, you can run the gpupdate /force command and verify that the scheduled task is present on the computer by launching Task Scheduler as a Local Administrator.
This process does not work reliably for machines using a Wi-Fi connection, 802.1X authentication, or a VPN, for example.
The reason is that the GPO relies on a startup script, but at boot time the machine does not yet have network connectivity. As a result, some GPOs cannot be applied.
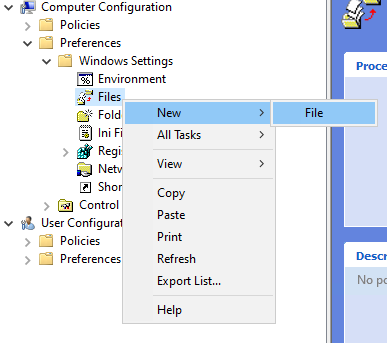
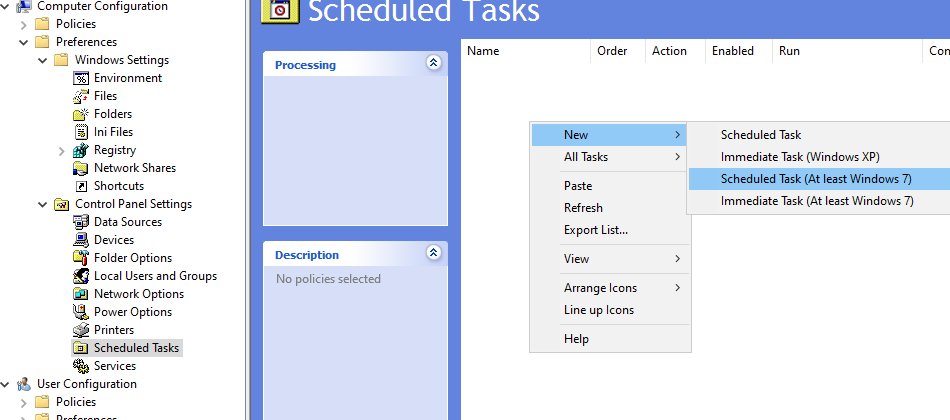
Create a new group strategy or add to the group policy with a scheduled task, on the Active Directory server (Microsoft Active Directory or Samba-AD).
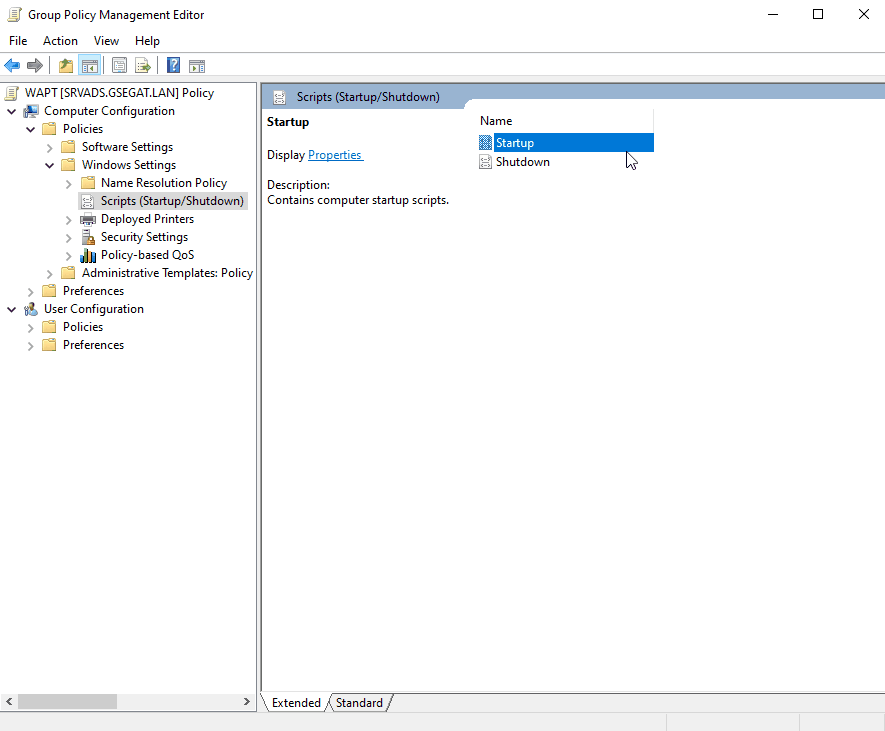
Add a new strategy with Computer configuration ‣ Policies ‣ Windows Settings ‣ Scripts ‣ Startup ‣ Properties ‣ Add.
Creating a group strategy to deploy the WAPT Agent
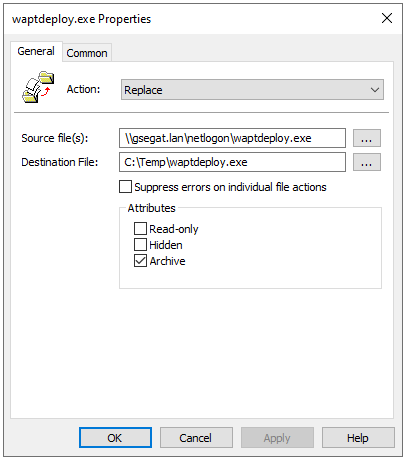
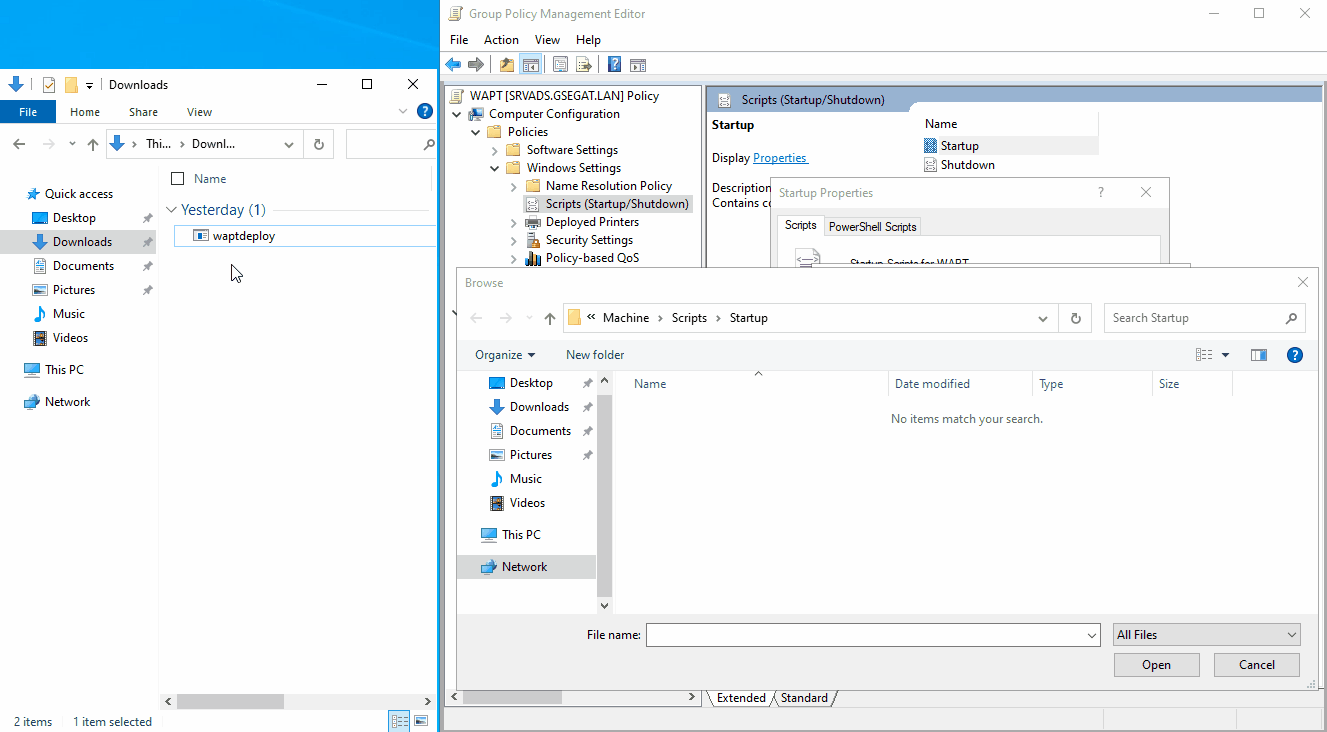
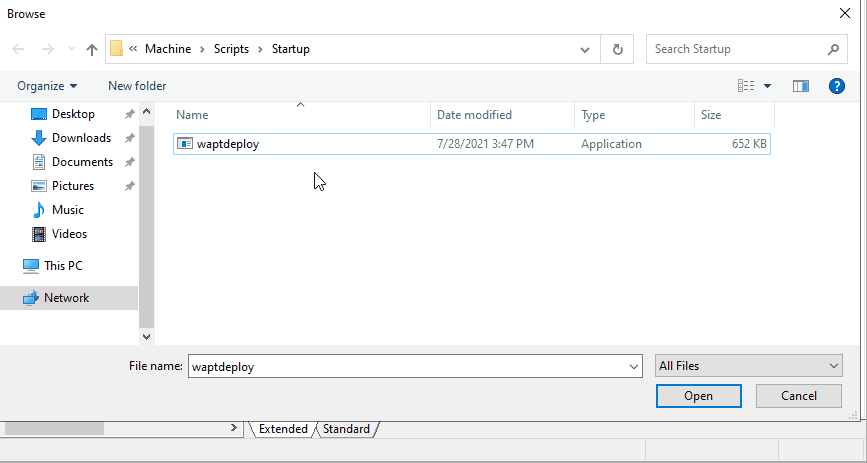
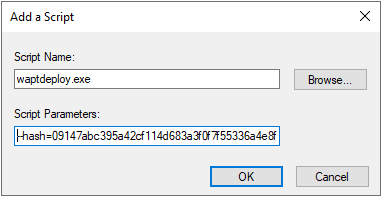
Click on Browse to select the waptdeploy.exe.
Finding the WAPT Deployment utility file on your computer
Click on Open to confirm the importation of the the WAPT Deployment utility binary.
Hint
It is necessary to provide the checksum of the waptagent.exe as an argument to the the WAPT Deployment utility GPO.
This will prevent the remote host from executing an erroneous / corrupted waptagent binary.
Parameters and waptagent.exe checksum to use for the the WAPT Deployment utility GPO are available on the WAPT Server by visiting https://srvwapt.mydomain.lan.
When waptdeploy.exe queries the WAPT Server to obtain the WAPT Agent URL, the download repository is chosen according to the rules defined for remote repositories.
The benefit of this method is that you only need one GPO to deploy WAPT onto your entire fleet of computers!
This method does not work in CSPN mode, as the homepage is intentionally disabled by design.
It is technically possible to re-enable the homepage using the homepage_enable parameter; however, this is not recommended.
Alternatively, when the agent is generated, it is automatically stored on the administrator’s workstation that performed the generation. The SHA-256 hash can then be computed locally using any standard tool available on the system (such as 7-Zip, or equivalent utilities).
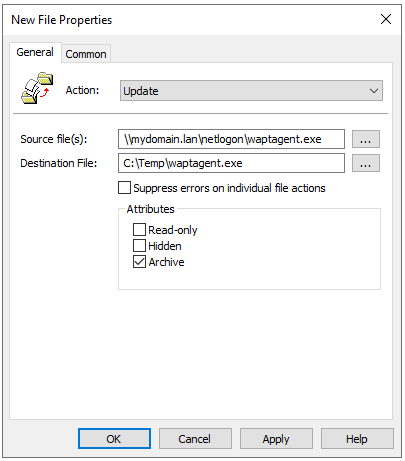
Copy the required parameters into the GPO.
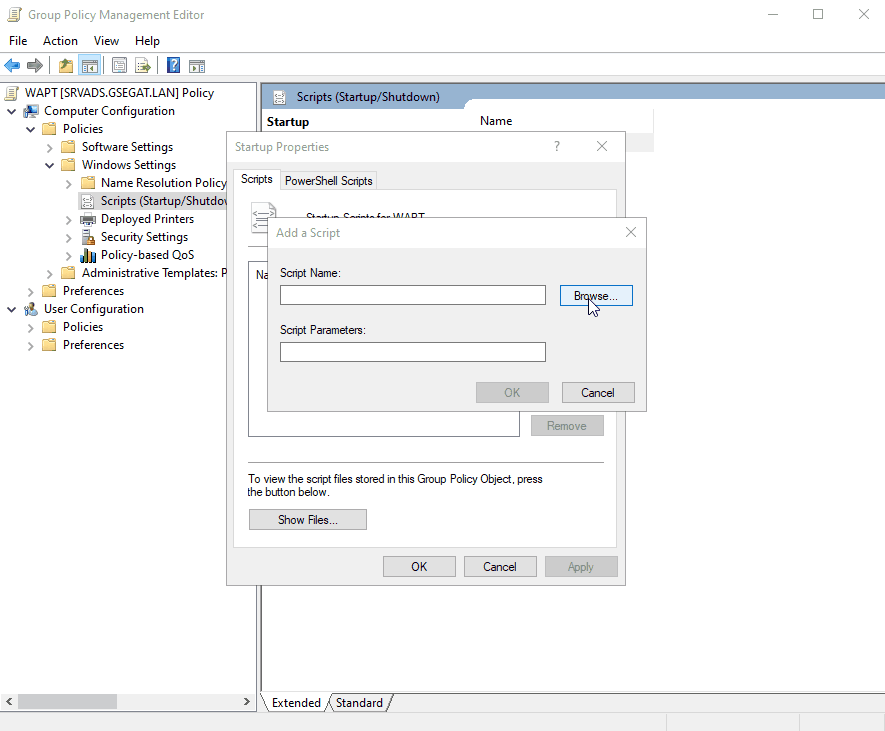
Adding the the WAPT Deployment utility script to the startup GPO
Click on OK to go on to the next step.
The WAPT Deployment utility GPO to be deployed on next startup
Click on OK to go on to the next step.
Apply resulting GPO strategy to the Organization’s Computers OU.
Note
We recommend adding waptdeploy.exe to the startup and shutdown scripts on the GPO.
Hint
More arguments are available for the WAPT Deployment utility
Description of available options for the WAPT Deployment utility
Options
Description
--force
Forces the installation of waptagent.exe even if alread installed.
--hash = <sha256hash>
Check that the downloaded waptagent.exe setup sha256 hash matches the hash.
--help
Displays the options
--minversion = <version>
Install waptagent.exe if installed version is less than minversion.
Download and install the WAPT Agent (note: the hash string may change, to get the latest, point your browser on the url https://wapt.tranquil.it/wapt/releases/wapt-2.6/).
Choose the version depending on your processor architecture (intel or m1):
# for mac m1
curl-OLhttp://wapt.tranquil.it/wapt/releases/wapt-2.6.1.17831-328523ac/tis-waptagent-2.6.1.17831-328523ac-macos-all-arm64.pkg
# for mac intel
curl-OLhttp://wapt.tranquil.it/wapt/releases/wapt-2.6.1.17831-328523ac/tis-waptagent-2.6.1.17831-328523ac-macos-all-x86_64.pkg
sudoinstaller-target/-pkgtis-waptagent*.pkg
1.2.1. Installing the WAPT Agent configuration file
Before installing the WAPT Agent configuration file, you have to create a initial config for you agent in your WAPT Console.
Warning
The WAPT Agent configuration wizard is only available on WAPT Entreprise Edition.
To configure Linux WAPT Agent, please refer to the manual WAPT Agent configuration method.
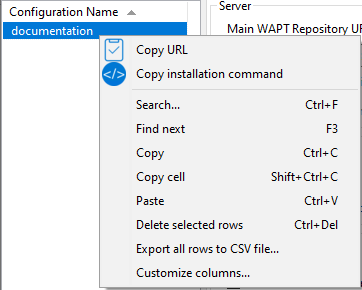
When done, copy the command with the Copy installation command.
There are some features that are not currently available on Linux and macOS:
Installing updates on shutdown (WAPT Exit);
Any Windows specific feature.
1.2.1.2. Particularities with domain functionality
On Linux:
Testing was carried out with sssd with an Active Directory domain and kerberos authentication.
To integrate a host in the Active Directory domain, you can choose to follow this documentation.
In order for Active Directory groups to function properly, you MUST verify that the id hostname$ command returns the list of groups the host is a member of.
Attention
We have noticed that the kerberos LDAP query does not work if the reverse DNS record is not configured correctly for the domain controllers.
These records MUST therefore be created if they do not exist.
1.2.2. Manual method to configure the WAPT Agent running on Linux / macOS
If you already have configured your WAPT Server to use correct Nginx SSL/TLS certificates, you MUST copy the certificate in your WAPT Linux or macOS Agent.
The certificate should be located on your Windows host in C:\ProgramFiles(x86)\wapt\ssl\server\.
Copy your certificate(s) in /opt/wapt/ssl/server/ using WinSCP or rsync if you are deploying on Linux or macOS.
Then, modify in the /opt/wapt/wapt-get.ini configuration file the path to your certificate.